By now most of you know that a considerable amount of time has gone by since my Alaska travels, and that I'm already on to another country and more adventures. I have realized that keeping up with the blogging had been far harder than I thought, so I thought it would be fair to jump ahead a bit, with the intention of finishing up my Alaska stories as soon as I can make time (I will, I swear!)
In the meantime, I thought the best way to convey that which came after Alaska would be with pictures, mostly, and not so much with words. It would be far too hard to recap every detail of the seven week guitar building workshop I attended in Saskatchewan, Canada from August 29th to October 14th and, frankly, unless you have a burning desire to know
every step involved in hand-making a guitar, it probably wouldn't be that exciting, anyway.
What I can tell you, as succinctly as I can, is that it was perhaps one of the most difficult things I have ever set my mind on accomplishing. For seven weeks straight, seven days a week, I spent ten to fourteen hours a day in the studio, and even though I have
some woodworking experience, most of what I experienced I was doing for the first time. The long hours, the solitude (Saskatchewan is about as far in the middle of nowhere as you can get), and the constant frustrations of the invariable mistakes that were made all along the way; there were a few times when I honestly thought that I wasn't going to make it. (One student actually
did quit, for pretty much all the reasons I just mentioned.) But finish I did, and the following pictures should give you at least a small glimpse into what my seven weeks involved. Enjoy!
 |
| Yup, this is pretty much what Saskatchewan looks like... |
 |
| This is the house that all seven students shared. I don't think I have to tell you things were a little tight... |
 |
| The studio is off to the right - it doesn't look like much, but this was where the magic happened! |
 |
| Starting at the beginning: cutting, fitting and gluing the beginnings of the neck. |
 |
| The old school way of joining the two halves of the back - wooden wedges and rope. |
 |
| Gluing another piece of mahogany to the neck. |
 |
| Carving that block to make what will eventually be the toe and heel of the neck. |
 |
| Scraping the back with a metal scraper to bring it to it's final thickness - ninety thousandths of an inch. |
 |
| Using a "go-stick" shelf to put pressure on the wooden binding strip being glued into the center seem. |
 |
| A handy jig that I made in order to accurately sand the pieces of abalone (decorative shell) that will be inlayed around the sound hole to make the rosette. |
 |
| Bringing the spruce top down to proper thickness the old fashioned way - with a hand planer. |
 |
| Working out the dimensions for the bracing of the guitar top. |
 |
| Go-sticks again; this time to hold down the bracing. |
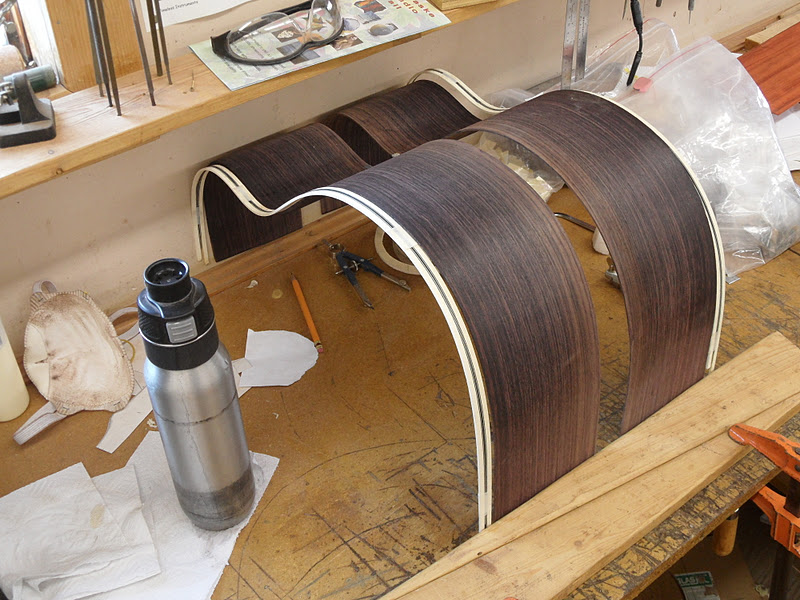
 |
| The sides, binding and purfling after bending. |
 |
| The torch and pipe used to make small changes to the bends on the sides. |
 |
| Hand carving the bracing to sweeten the sound... |
 |
| On go the sides. All those little pieces you see lined up at the joining point have to be placed and glued one at a time... |
 |
| Clamping the butt block. |
 |
| Go sticks again! This time for the bracing on the back. |
 |
| Just after the sides were cut to the proper measurements. |
 |
| All cleaned up and ready for the back to be glued down. |
 |
| Another old school technique - this is to hold the back down after gluing. |
 |
| The rope comes in handy for gluing in the binding and purfling, too. |
 |
| It's starting to look like a guitar... |
 |
| Installing the truss rod to allow for adjustment of the neck later on. |
 |
| Gluing down the ebony fingerboard. |
 |
| In the midst of gluing in the abalone inlay on the fingerboard. |
 |
| Keeping the mess at bay... |
 |
| Gluing in the fingerboard binding. |
 |
| Shaping the neck with a spoke shave. |
 |
| Installing the butt block veneer. |
 |
| Hammering in the frets. |
 |
| Masked off and ready for the spray booth. By the time I'm done, it will have eight coats of lacquer, with sanding in between almost every coat. |
 |
| Starting to get shiny... |
 |
| More shine... |
 |
| Gluing and clamping the bridge. |
 |
| And there you have it - almost seven hundred hours of work condensed into 34 pictures - piece of cake! |
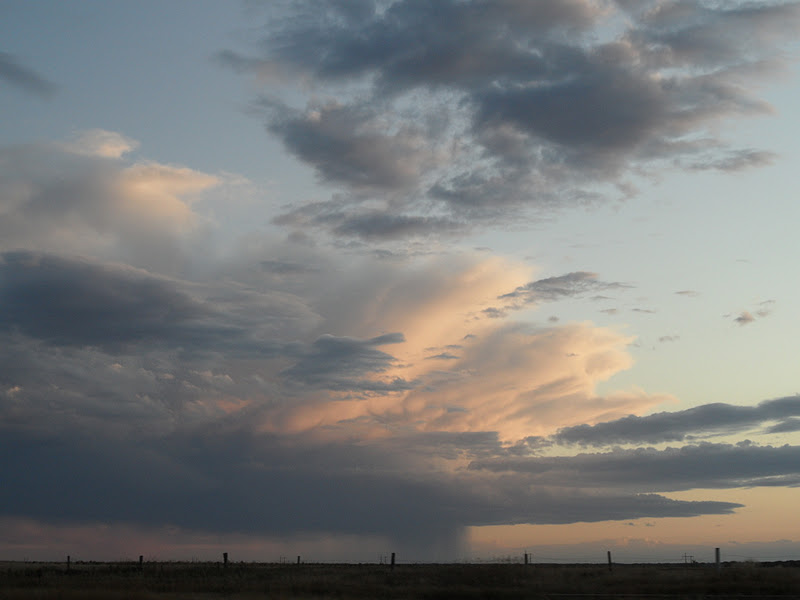
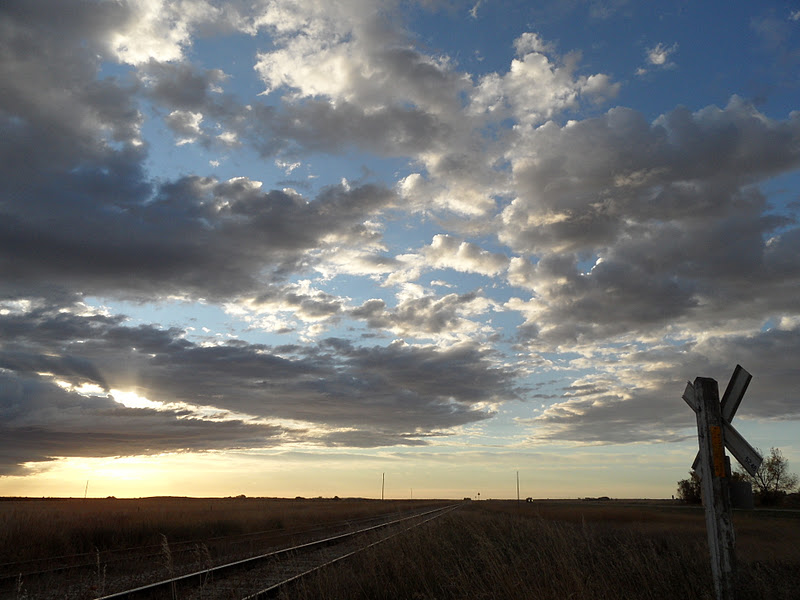
As a side note, for all of the flatness and desolation that was Saskatchewan, I was constantly amazed at the sunrises, sunsets, and crazy cloud formations that I saw in my seven weeks there. Here are a few examples, in no order other than chronological...


Thanks for sharing... love the first pic. Looks like Nebraska!
ReplyDeleteThank you for posting this. What an amazing sky. The guitar looks beautiful. How does it play? Safe travels.
ReplyDeleteHi Rob,
ReplyDeletewill have to post a comment as we could not find your email address on the blog.
It was great to meet you on the Milford Track ! Have fun with the rest of your travels.
Hi from all the Aussies
Mike and Elke
(mike@inline.com.au)
How fast did you cruise down those never ending roads? Glad you made it out of AK! What an amazing process to build a guitar, and how beautiful it is! Great series of pictures. Though I can't believe you skipped over me in the blog.........:)
ReplyDelete